
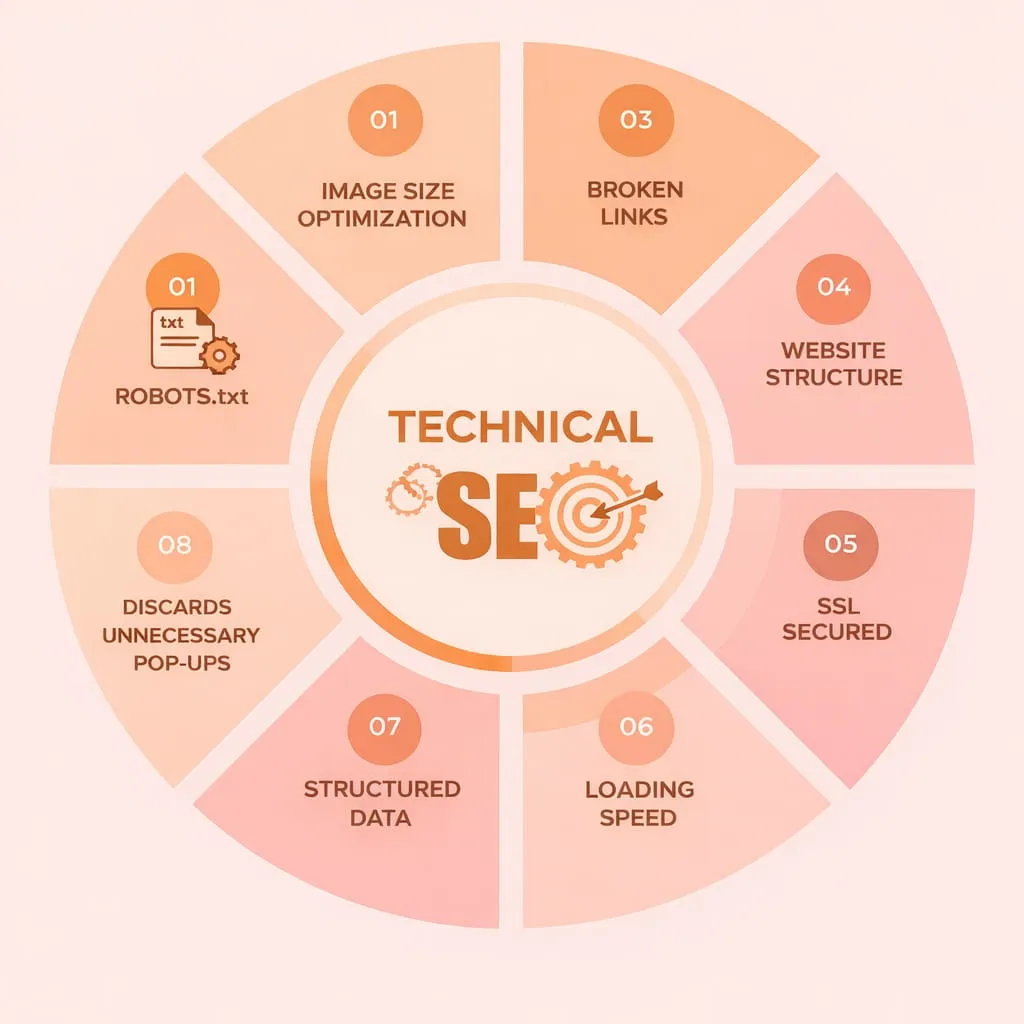
Technical SEO is the practice of optimizing your website’s infrastructure and technical elements so that search engines can easily crawl, index, and understand your content. In simple terms, it’s about making your site search-engine-friendly behind the scenes. This includes improving factors like site speed, mobile-friendliness, and security to ensure a good user experience – all of which can boost your visibility in search results.
What is Technical SEO?
Technical SEO refers to the process of optimizing a website’s infrastructure so search engines can crawl, index, and render pages efficiently; it includes tasks such as improving site speed, implementing structured data, ensuring mobile-friendliness, fixing crawl errors, optimizing XML sitemaps and robots.txt, and securing the site with HTTPS. Unlike on-page or content SEO, technical SEO focuses on backend elements and site architecture that influence how search engines crawl and understand a site, which, in turn, affects rankings and visibility. Effective technical SEO creates a solid foundation for content and link-building efforts by removing barriers to indexing, improving user experience, and enabling search engines to interpret site signals more accurately.
Why Is Technical SEO Important?
Technical SEO is important because it ensures search engines can crawl, index, and understand your website efficiently, which directly affects visibility and rankings. By optimizing site speed, mobile-friendliness, secure connections (HTTPS), clean site architecture, and structured data, technical SEO reduces barriers that prevent pages from being discovered or properly interpreted. Proper technical SEO also improves user experience by minimizing load times and errors, which lowers bounce rates and increases engagement, signals that search engines use when ranking content. In short, technical SEO lays the foundation that allows on-page content and backlinks to realize their full value in driving organic traffic and long-term growth.
Why Technical SEO Matters
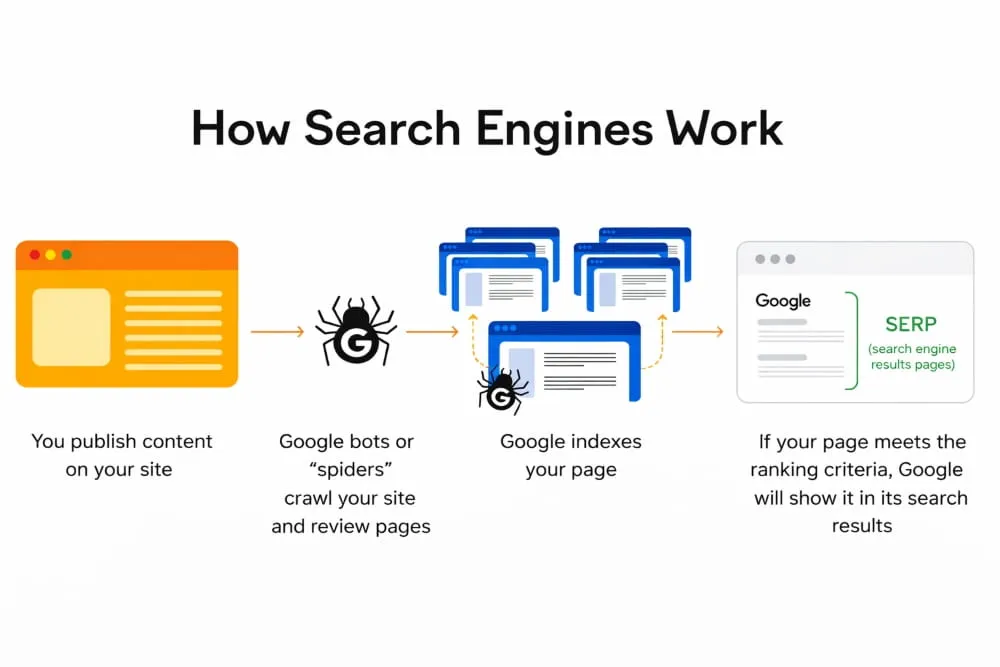
Even the best content won’t rank if search engines can’t access it. Technical SEO ensures that your site is accessible to search engine crawlers. If pages aren’t crawlable or indexable, they won’t appear on Google – no matter how valuable the content is. Additionally, many technical optimizations directly affect user experience and rankings. For example, a fast-loading, mobile-friendly site keeps users engaged (reducing bounce rates) and is favored by Google’s algorithm. In short, technical SEO forms the foundation for all other SEO efforts by enabling your content to be discovered and served to users.
Key reasons technical SEO is important:
- Crawling & Indexing: Proper technical setup helps search bots easily find and index your pages, which is a prerequisite for ranking. A page not indexed in Google’s database will never appear in any search results.
- Better User Experience: Technical factors such as site speed and mobile optimization improve the UX. Fast, mobile-friendly sites tend to keep visitors longer, sending positive signals to search engines.
- Higher Rankings: Search engines use technical signals (page speed, security, structured data, etc.) as ranking factors. A technically sound site is more likely to rank higher than a poor-performing one.
- Avoids Penalties & Issues: Technical SEO prevents problems such as duplicate content, broken links, and security warnings that can harm your rankings and reputation. For example, using canonical tags can help avoid duplicate content issues that confuse search engines.
- Enables Rich Features: Implementing technical elements, such as schema markup (structured data), can make your search listings more attractive (e.g., by showing star ratings or images), increasing click-through rates.
Key Technical SEO Elements & Best Practices
Below are the fundamental areas of technical SEO and how to optimize each one. These best practices will help beginners and intermediate SEOs systematically improve a website’s technical health.
1. Website Crawlability & Indexing
Crawlability means search engine bots (like Googlebot) can navigate your site and discover all your important pages. To improve crawlability, create a clear site architecture: organize pages in a logical hierarchy and use internal links so that any page is only a few clicks from the homepage. This prevents “orphan pages” (pages with no internal links pointing to them) from being missed by crawlers.
XML Sitemap
Provide an XML sitemap listing all key pages on your site. This file acts as a roadmap for search engines, helping them find and crawl your URLs more efficiently. You can usually access your sitemap at yourwebsite.com/sitemap.xml. Once it’s ready, submit your sitemap in Google Search Console to ensure Google knows about all your pages. This is especially helpful for large or complex sites where some pages might be hard to reach through normal links.
Robots.txt
Use a robots.txt file to tell search engines which URLs they shouldn’t crawl (for example, admin or staging pages). However, be careful not to accidentally block important pages via robots.txt. Always check that you’re not disallowing sections of your site that you want indexed. (For instance, you generally should not block your main content pages or blog posts in robots.txt, or they won’t appear in search results.) Remember that robots.txt controls crawling, not indexing – to prevent a page from showing up in results, use a noindex meta tag on that page instead of relying on robots.txt alone.
Noindex Tags
For any pages that you don’t want indexed (such as duplicate pages, thank-you pages, or other non-public content), use the <meta name= “robots” content= “noindex”> tag in the HTML head. This instructs search engines to crawl the page but not to index it. Use noindex carefully – apply it only to pages that serve no search value, and ensure all important pages are indexable.
Regularly verify what Google has indexed by using the site:yourwebsite.com search operator or checking the Index Coverage report in Google Search Console. If you notice pages missing from the index, it could indicate a crawl/blocking issue to fix.
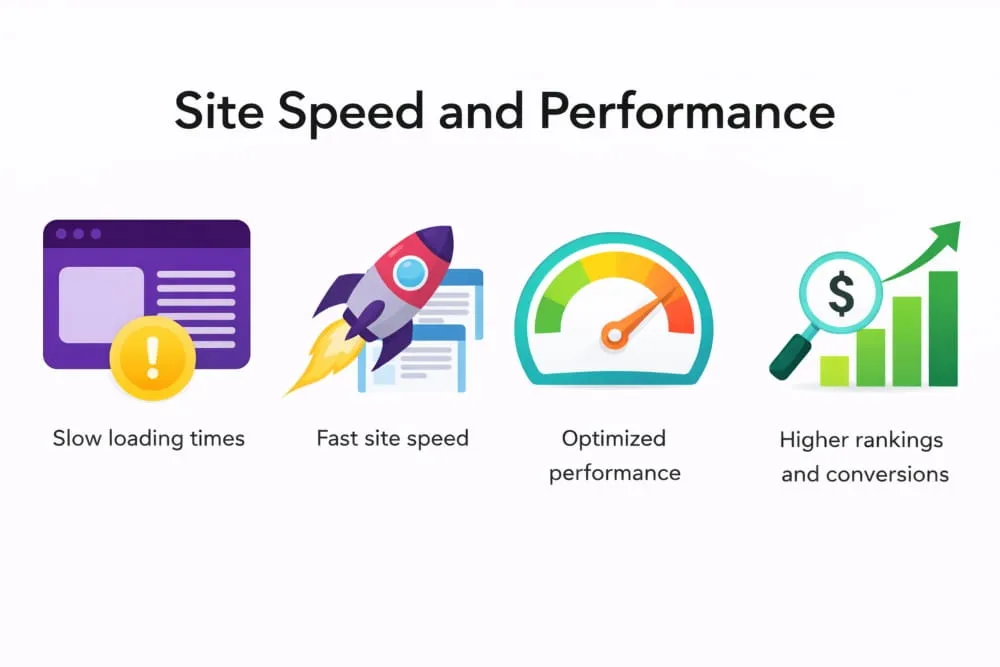
2. Site Speed and Performance
Site speed is not only critical for user satisfaction but also a confirmed Google ranking factor on both desktop and mobile. Pages that load faster tend to engage users better, while slow pages lead to higher bounce rates (users leaving out of frustration). Google’s Core Web Vitals are a set of performance metrics that measure aspects of user experience, including loading speed, interactivity, and visual stability. Aim to meet these benchmarks for good performance: for example, Largest Contentful Paint (LCP) under 2.5 seconds, First Input Delay (FID) under 100 ms, and Cumulative Layout Shift (CLS) less than 0.1. Achieving these scores indicates your site loads quickly and feels responsive to users.
Tips to improve page speed:
Optimize Images
Images are often the largest assets on a page. Compress or resize images to reduce file size without noticeable quality loss. Using image optimization tools (like ShortPixel or TinyPNG) can significantly cut down load times. Additionally, use modern image formats (WebP, AVIF) and consider lazy-loading images that are off-screen.
Minify and Combine Files
Remove unnecessary characters, whitespace, and comments from HTML, CSS, and JavaScript to reduce file sizes. Also, combine files where possible (e.g., a single CSS bundle instead of multiple files) to reduce the number of HTTP requests. This streamlines how quickly the browser can retrieve and render your page.
Use a CDN
A Content Delivery Network (CDN) caches your site’s files on servers around the world, serving content to users from the nearest location. This reduces latency and speeds up load times for global visitors. Many CDNs also offer optimizations like minification and image compression.
Enable Caching
Leverage browser caching so repeat visitors don’t re-download all resources each time. Setting proper cache headers can let browsers store elements of your pages, making subsequent page loads much faster.
Eliminate Render-Blocking Resources
Ensure that slow-loading scripts or styles don’t hold up critical page content. Defer non-critical JavaScript, and load CSS asynchronously or inline critical CSS for faster first render.
Core Web Vitals
Core Web Vitals are a set of user-centric performance metrics defined by Google that measure real-world experience on web pages and are a critical component of technical SEO; they focus on three main signals Largest Contentful Paint (LCP) which tracks loading performance, First Input Delay (FID) now evolving to Interaction to Next Paint (INP) which measures interactivity, and Cumulative Layout Shift (CLS) which quantifies visual stability, and improving these metrics through techniques like optimizing server response times, implementing efficient caching and CDNs, compressing and properly sizing images, deferring non-critical JavaScript, minimizing render-blocking resources, and ensuring stable layout structures not only enhances user experience but can also positively influence search rankings and visibility in organic results.
Use PageSpeed Insights (a free tool by Google) to measure your pages’ performance and get specific recommendations. This tool provides a score (0 to 100) and highlights what to fix, such as “reduce server response time” or “eliminate render-blocking resources.” It also reports Core Web Vitals metrics for your page. By systematically addressing these suggestions – and testing improvements in tools like PageSpeed Insights or Lighthouse – you can steadily enhance your site’s speed. Remember, a faster site not only pleases search engines but keeps your visitors around longer.
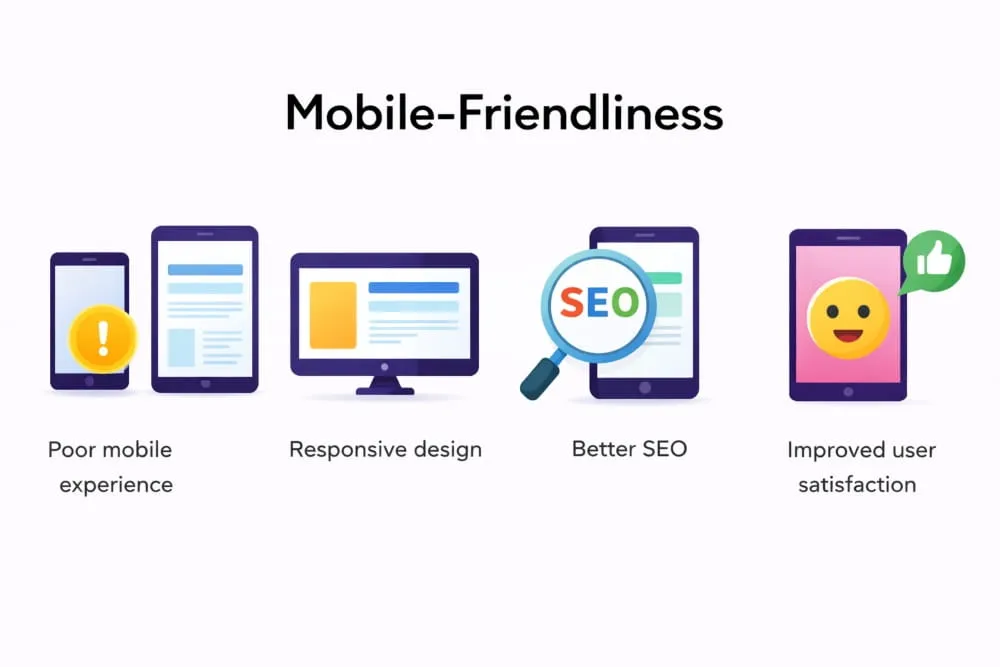
3. Mobile-Friendliness
With Google’s mobile-first indexing, the search engine predominantly uses your site’s mobile version to rank pages. In practice, this means your website must work well on smartphones and tablets. A poor mobile experience can hurt your rankings even for desktop users’ searches, because Google assumes the mobile experience as the default.
To optimize for mobile:
Responsive Design
Implement a responsive web design that automatically adjusts layout and content to fit different screen sizes. This ensures users on phones, tablets, or desktops all get an optimal experience. Elements like menus, images, and columns should resize or reflow for smaller screens rather than just shrinking.
Viewport and Readability
Make sure you have a proper <meta name= “viewport” content=” width=device-width, initial-scale=1″> tag in your pages. This tells browsers to adjust the page width to the device width. Also, use legible font sizes and adequate spacing for links/buttons on mobile. Users shouldn’t need to zoom in to read text or tap a button.
Avoid Mobile-Specific Errors
Ensure that all content (including images or videos) that’s available on desktop is also accessible on mobile. Don’t use software or plugins (like Flash) that aren’t supported on mobile devices. And beware of interstitials or pop-ups that cover content on smaller screens, as they may be penalized if they diminish the user experience.
You can test your site’s mobile-friendliness using Google’s Mobile-Friendly Test or the Mobile Usability report in Google Search Console. These tools will flag issues such as content wider than the screen, clickable elements too close together, or mobile loading errors. Addressing those issues (often by tweaking your CSS or design) will help ensure your site passes Google’s mobile-friendly criteria. A smooth mobile experience not only improves SEO but is essential as more and more users primarily browse on their phones.
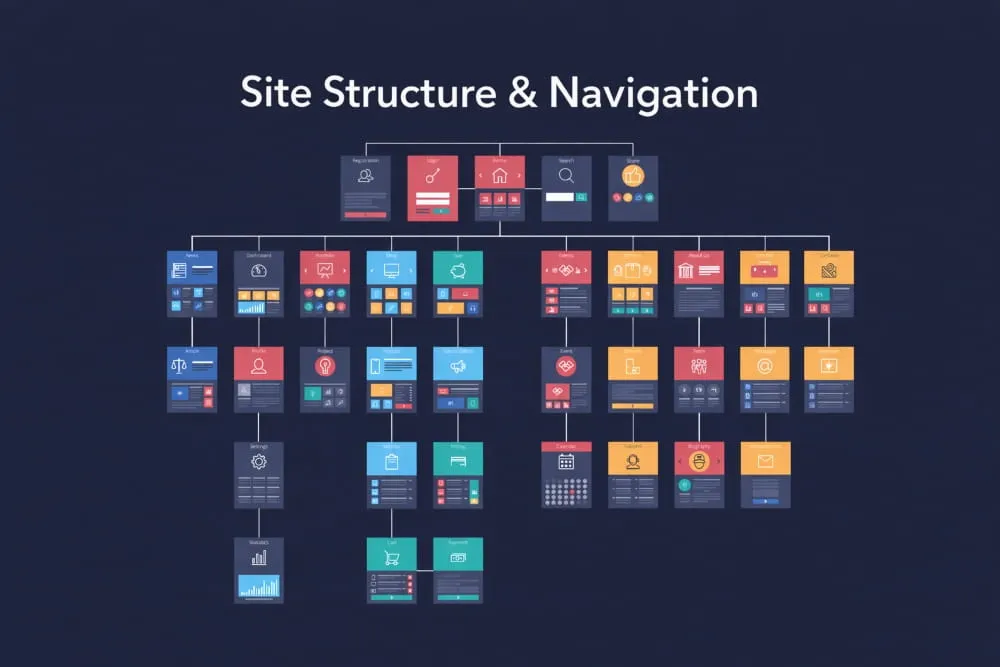
4. Site Structure & Navigation
A well-organized website structure helps both users and search engines navigate your content. Plan out a logical hierarchy for your site. Typically, this means your homepage links out to main category or section pages, and those in turn link to more specific subpages. This structure provides a clear path for crawlers to quickly find all your pages. Every important page should be reachable in just a few clicks from the homepage. If a page is buried too deep or has no internal links pointing to it (an orphan page), it will be hard for Google (and users) to discover. Prevent orphan pages by linking to new or important pages from elsewhere on your site (e.g., a relevant category page or your navigation menu).
Tips for better navigation:
Intuitive Menu and Links
Use descriptive anchor text for your navigation links and organize menus logically (e.g., grouping related pages under appropriate headings). This not only helps visitors find information but also gives search engines context about your content. For instance, a menu structure like Products > Laptops > Gaming Laptops clearly signals what each section is about.
Breadcrumbs
Implement breadcrumb navigation, especially if your site has a deep structure. Breadcrumbs are the clickable trail (e.g., Home > Section > Subsection > Page) usually shown at the top of a page. They help users understand where they are and allow easy backtracking to broader pages. From an SEO perspective, breadcrumbs provide additional internal links and help distribute link equity throughout your site. Many content management systems or themes support breadcrumbs, or you can use plugins (like Yoast SEO in WordPress) to add them.
Avoid Deep Nesting
Try not to nest content more than 2 levels deep. If a user (or crawler) has to click through dozens of category/subcategory pages to reach a piece of content, consider restructuring. Shallow, broad structures often work better than very deep ones for SEO.
HTML and XML Sitemaps
In addition to an XML sitemap (for search engines), consider having an HTML sitemap page for your users. This is basically a page that links to all key pages on your site (or at least to all main sections). It can serve as a fallback navigation aid and ensure no important page is more than one link away from this sitemap page.
By improving site structure and navigation, you make your website more crawlable and user-friendly. Users can find what they need with fewer clicks, and search engines can better understand the hierarchy and context of your pages, thereby improving the indexing and ranking of your content.
5. Duplicate Content & Canonicalization
Duplicate content refers to substantive blocks of the same or very similar content appearing on multiple URLs (either on your site or even across different sites). While Google typically does not outright penalize normal duplicate content, it can cause SEO issues. These issues include: search engines getting confused about which version to index and rank, diluting your backlink equity across duplicates, and wasting crawl budget on redundant pages.
Common causes of duplicate content: having both http:// and https: Page Speed// versions of your site accessible, or www and non-www versions not redirected to one another, or URL parameters (such as tracking codes, session IDs, or filtered search pages) creating multiple URLs with the same core content. For example, an e-commerce site might have the same product listed under multiple categories, resulting in duplicate pages.

Best practices to handle duplicates:
Choose a Preferred Domain
Ensure your site is accessible via only one primary URL format. Decide between the https://www.yourwebsite.com version or the https://yourwebsite.com (non-www) version, for instance, and redirect the other to it. Consistent use of a single domain format prevents the same page from appearing at two addresses. Typically, you’d set up 301 redirects so that if someone tries to access the non-preferred version, they are automatically sent to the preferred URL.
Use Canonical Tags
A canonical tag (<link rel=”canonical” href=”URL”>) in the HTML <head> of a page tells search engines which URL is the “canonical” (authoritative) version when there are duplicates. For pages with very similar or identical content, point all of them to the primary version using a canonical tag. For example, if your site has the same article accessible at both /blog/article?page=1 and /blog/article?page=all, pick one as canonical. This way, Google knows to consolidate ranking signals to the canonical page and avoid treating the variations as separate competing pages.
Manage URL Parameters
If your site uses URL parameters (for sorting, filtering, tracking, etc.), you may end up with multiple URLs displaying the same content in different orders. Use Google Search Console’s URL Parameters tool (with caution), or configure your application to minimize the creation of unnecessary URL variations. Alternatively, implement canonical tags on parameterized pages pointing to the main clean URL.
Noindex Low-Value Duplicates
For pages that are duplicates or near-duplicates and don’t need to appear in search results (for instance, a printer-friendly page variant), you can add a noindex tag to exclude them from indexing. This ensures that only the main page shows up in search results.
Syndicated Content
If you publish content on other sites or they republish your articles, use canonical tags (or ask the republishing site to do so) pointing back to the original article on your site. This helps Google understand your site has the original version.
By controlling duplicate content, you help search engines focus on your preferred pages, which improves your chances of ranking well. It also provides a consistent experience for users, who will land on the version of the page you intend.
6. Security (HTTPS)
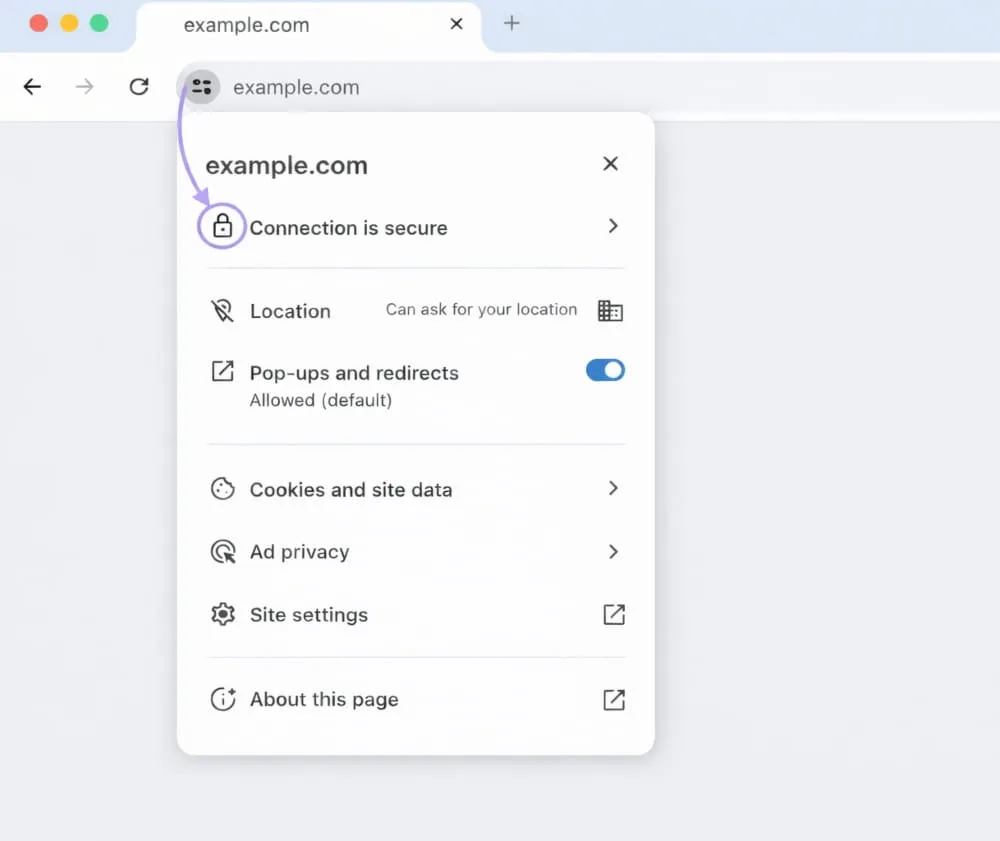
Website security is a must-have in modern SEO. Serving your site over HTTPS (HTTP Secure) means all data between your users and your site is encrypted and protected. This not only safeguards user information but also has SEO benefits. Google has used HTTPS as a lightweight ranking signal since 2014, and today it’s essentially expected: browsers like Chrome flag non-HTTPS sites as “Not Secure,” which can scare away visitors. A secure website instills trust in users and search engines – in fact, search engines are more likely to trust and rank secure sites.
How to implement HTTPS:
Obtain an SSL/TLS certificate for your domain (you can get these from many providers; Let’s Encrypt, for example, offers free SSL certificates). Install the certificate on your web server and configure your website to use https:// in all URLs.
Once HTTPS is set up, redirect all old http:// URLs to the new https:// versions (this is often done via 301 redirects at the server or CMS level). This ensures anyone trying to access the old, insecure pages (or coming via old links) will automatically be sent to the secure page. It also consolidates your SEO signals to the HTTPS pages.
Update any hard-coded internal links or references in your content to use HTTPS to avoid mixing protocols. Also, update your sitemap to list the HTTPS URLs, and re-submit it in Google Search Console.
After migrating to HTTPS, monitor your site closely (Google Search Console can report any indexing issues). In most cases, if done correctly, you’ll maintain your rankings and benefit from the added trust. Modern SEO tools and browsers will consider your site “fully secure” when all elements (images, scripts, etc.) are loaded via HTTPS (no mixed content warnings).
Beyond HTTPS, general security best practices (though not direct ranking factors) contribute to technical SEO health: keep your software, CMS, and plugins up to date (to prevent hacks), use strong passwords, and consider security tools or firewalls for your site. A hacked or malware-infected site can be blacklisted by Google, which ruins your SEO, so prevention is key. In summary: use HTTPS everywhere – it’s good for users and good for SEO.
7. Structured Data (Schema Markup)
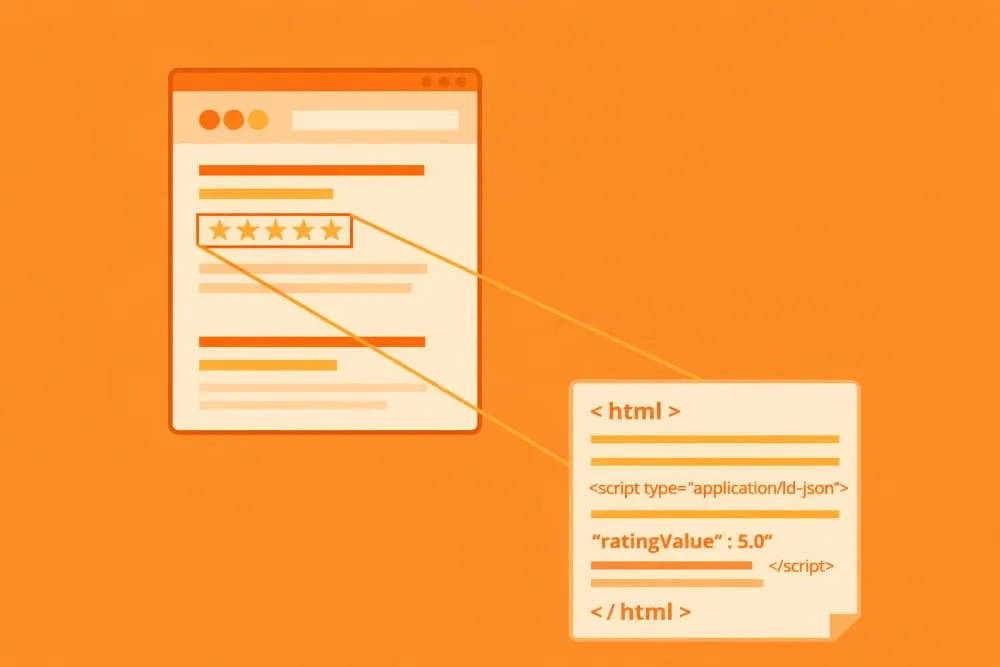
Structured data is code (in formats such as JSON-LD, Microdata, or RDFa) that you add to your pages to explicitly tell search engines what your content is about. By implementing structured data (also known as schema markup), you help search engines better understand the page’s information and unlock eligibility for rich results in the SERPs. For example, adding structured data to a recipe page can inform Google about the recipe’s ingredients, cooking time, calories, user ratings, etc., allowing Google to display a rich snippet with star ratings, cook time, and other details right on the results page. These rich snippets are more eye-catching and informative, which can improve your click-through rate.
Common types of schema markup include: Articles, Products, Recipes, Events, FAQ, How-To, Reviews, and more. Google supports dozens of schema types for content, so choose ones that match your content. For instance, an e-commerce site should use Product schema on product pages (including price, availability, etc.), while a blog might use Article schema or FAQ schema for Q&A sections.
Best practices for structured data:
- Implement schema markup that is relevant and specific to the page’s content. Only mark up actual content the user can see. (Don’t, for example, add review schema to a page that has no visible reviews – that’s against guidelines.)
- Follow Google’s structured data guidelines for required and recommended properties. You can refer to the official Schema.org documentation or Google’s developer docs, which list what’s expected for each rich result type.
- Use Google’s Rich Results Test or Schema Markup Validator tools to check your structured data for errors. These tools will tell you if the JSON-LD is correctly formatted and whether you’re missing any required fields.
- Adding structured data alone doesn’t guarantee a rich result in Google, but it’s a necessary step to become eligible for one. Keep your structured data up to date (e.g., if a product price changes, update the schema too).
You don’t need to be a coder to add structured data. Many content platforms and plugins make it easier. For example, if you use WordPress, SEO plugins like Yoast or AIOSEO can help you implement schema. There are also free schema generator tools that let you fill out a form and generate JSON-LD code you can paste into your page. By leveraging structured data, you enhance the search appearance of your pages, making them stand out and potentially driving more traffic.
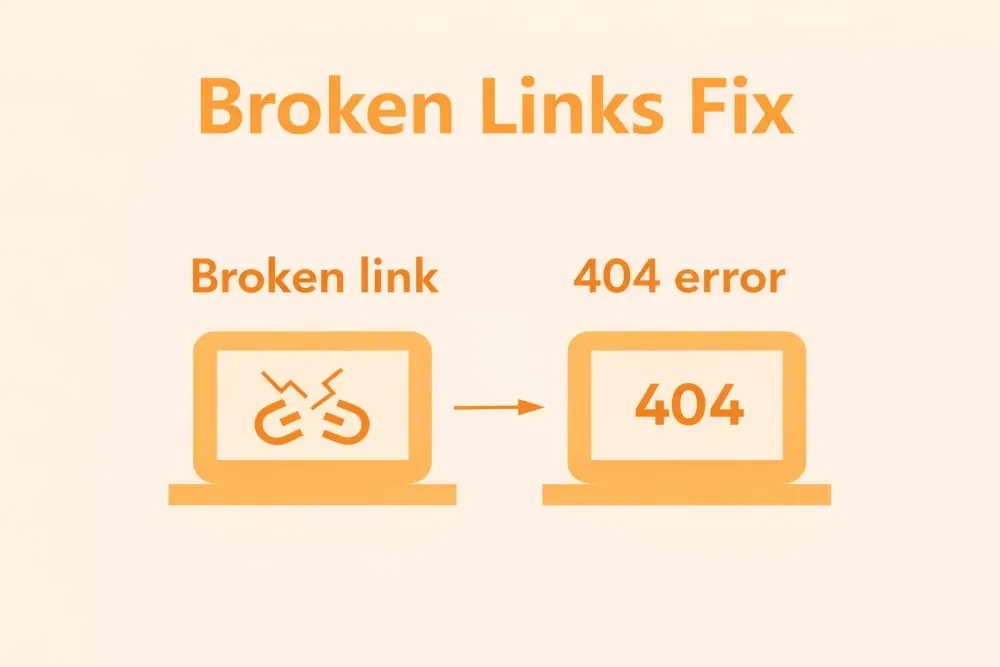
8. Fix Broken Links and HTTP Errors
Broken links and error pages can hurt both user experience and SEO. If a visitor lands on a broken page (say, a “404 Not Found” error), it’s a dead end – users get frustrated, and any link equity that page had is wasted. Similarly, if your site has internal links pointing to missing pages, it creates a poor navigation experience and signals a lack of maintenance. From an SEO perspective, a significant number of broken pages can negatively affect your site’s quality assessment.
How to handle broken pages (404 errors):
Identify Broken Pages
Regularly crawl your site with an SEO tool or use Google Search Console’s Coverage report to find 404 errors. SEO audit tools (such as Semrush Site Audit or Ahrefs Site Audit) can list all pages that return 4xx/5xx error codes. Don’t forget to check for broken internal links as well – links on your site pointing to pages that don’t exist. These tools often have an “Internal links” or “Broken links” report to catch those.
Fix or Redirect
Once you have a list of broken URLs, decide the best fix for each. If the content should exist but was removed accidentally or due to a mistake, restore (reinstate) that page/content if possible. If the content was removed intentionally or is outdated, implement a 301 redirect from the broken URL to the most relevant alternative page on your site. For example, if /old-product was discontinued, redirect it to /new-product (if similar), or to the parent category page if no replacement exists. Redirecting preserves the value of inbound links by forwarding them to another page and guides users to a useful destination instead of a 404.
Update Links
After fixing a broken page or setting up a redirect, update any internal links that were pointing to the old URL. If you’ve redirected /old-page to /new-page, make sure no other pages on your site are still linking to /old-page. Update those to link directly to /new-page to avoid unnecessary redirect hops. This cleanup ensures a more efficient link structure (and avoids chains of redirects, which can slow down crawlers).
Custom 404 Page
It’s good practice to design a user-friendly 404 page for any errors that do occur. Include helpful messaging like “Oops, this page isn’t available” and provide links to popular sections or a search box. While this doesn’t fix the error, it can help recover a visitor who lands there by accident. Just ensure the server actually returns a 404 status code on that page (so search engines know the page is missing and can drop it from the index if it was indexed).
By proactively fixing broken links and errors, you maintain a healthy site structure. Users won’t hit dead ends, and search crawlers can traverse your site without interruption. This improves indexation and preserves the SEO value of your inbound and internal links.
9. Hreflang (International SEO)
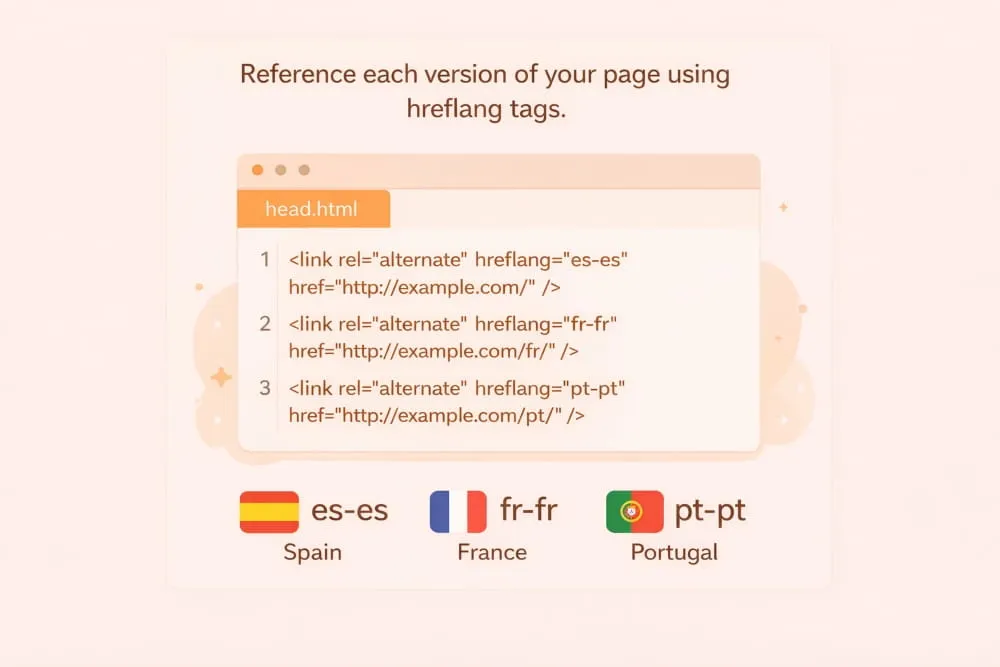
If your website serves content in multiple languages or targets different regions, implement hreflang tags. Hreflang is a special HTML attribute (placed in the page <head> or in sitemaps) that tells search engines about equivalent pages in other languages or locales. In essence, it helps Google and other engines serve the right language content to the right users. For example, if you have an English version of a page and a Spanish version, each page’s <head> would include an hreflang tag pointing to the other version (and itself), indicating “here’s the English page, here’s the Spanish page.” This prevents Google from getting confused by duplicate content across languages and ensures Spanish speakers see the Spanish page in results, while English speakers see the English page.
Key points for hreflang:
- Each set of alternate-language pages should reference each other using hreflang tags. Typically, you list out all language variants on each page (including a special x-default for a default/fallback page). For instance, on your English page, you’d have tags for English, Spanish, Portuguese versions; on the Spanish page, tags for Spanish, English, Portuguese, etc.
- Use the appropriate language (and optionally region) codes. e.g., hreflang=”en” for English, hreflang=”en-GB” for English/Great Britain, hreflang=”es” for Spanish, and so on. Use region codes only if you have region-specific content (like en-US vs en-GB). If it’s just language variants, the two-letter ISO language code is fine.
- Consistent implementation: Ensure every translated page has the hreflang references. If one page is missing the tag or not reciprocating the link, the hreflang signal might be ineffective. Google requires a two-way (bidirectional) reference – page A lists page B, and page B lists page A. Missing self-references or mismatches can cause errors.
- x-default: Include an hreflang=”x-default” entry to indicate the default page for users who don’t match an available language. Often, this is your main homepage or an English version if you expect English to be the default for unspecified locales.
Implementing hreflang correctly can be a bit technical. Still, it pays off by improving the user experience (users automatically get the right language content) and avoiding confusion about duplicate content across different language pages. It’s an important technical SEO step for international sites. Google Search Console can help you spot hreflang errors (in the International targeting report), and tools like Ahrefs or Semrush have auditing features to visualize hreflang setups. If done right, your site’s global SEO will benefit from serving each user the most appropriate content.
10. Ongoing Monitoring and Maintenance
Technical SEO is not a one-time task but an ongoing process. Websites are dynamic – you’ll update content, add new pages, install plugins, make design changes, or migrate to a new platform – and each change can introduce new technical issues or undo previous optimizations. That’s why regular monitoring and maintenance are critical.
Every so often (monthly, quarterly, or in advance of big releases), conduct a technical SEO audit of your site. This can be done using automated crawling tools that check for common issues. Look for things like: broken links, missing or incorrect meta tags (title, description), slow pages, pages that became non-indexable, duplicate content, etc. Many issues can crop up over time – for example, a new plugin might accidentally add a noindex tag to a section of your site, a developer might inadvertently block Googlebot in robots.txt during a staging push, or a bunch of slow-loading images might be added, hurting page speed. By catching these promptly, you prevent long-term SEO damage.
Google Search Console is your friend here: it will report indexing errors, mobile usability problems, Core Web Vitals updates, and even security issues if they arise. Pay attention to GSC alerts or reports for any unusual activity. Additionally, third-party SEO tools (as mentioned below) can continuously monitor your site’s technical health. For example, Semrush’s Site Audit or Ahrefs’ Site Audit can be set to crawl your site regularly and notify you of issues – they check for over a hundred potential problems, from redirect loops to missing alt tags.
When an issue is identified, prioritize fixing critical errors first (e.g., site outages, widespread noindex tags, major crawl blocks), then high-impact issues (broken links, missing titles, etc.), and so on. Keeping a clean bill of technical health not only preserves your current SEO standing but also makes future optimization easier (you’re building on a solid foundation rather than digging out of a hole).
In summary, make technical SEO audits a regular part of your website management. This proactive approach will help you catch problems early, maintain search performance, and ensure that as your site evolves, it continues to comply with search engines’ best practices.
Useful Tools and Resources for Technical SEO
Optimizing a website’s technical aspects can be complex, but fortunately, there are many tools to help you audit and improve your site. Here are some essential tools and how they aid your technical SEO efforts:
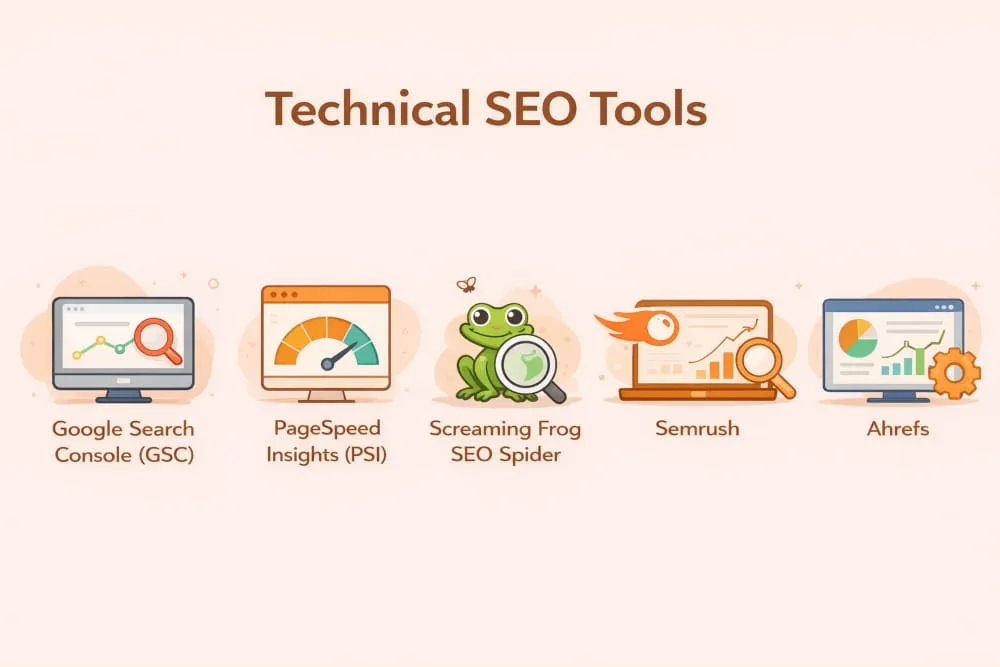
Google Search Console (GSC)
A free must-have tool from Google for anyone doing SEO. GSC lets you monitor your site’s indexing status, submit sitemaps, and view crawl errors and security issues. Use the Coverage report to identify pages that are not indexed or have errors. The URL Inspection tool lets you test how Googlebot sees a specific page (and request indexing). GSC also has reports for Core Web Vitals, Mobile Usability (to catch mobile-specific problems), and enhancements like Breadcrumbs or FAQs if you use structured data. It’s an invaluable dashboard for tracking your technical SEO health over time.
PageSpeed Insights (PSI)
This is Google’s performance analysis tool for site speed. Simply input a URL, and PSI will generate lab and real-world data on your page’s load speed, including Core Web Vitals metrics. It highlights things like large images or slow server responses that you should fix. For developers, the Lighthouse report (built into Chrome DevTools or via PSI) provides deeper insights. Use PSI regularly for key pages (homepage, top product pages, etc.) to ensure you’re meeting performance best practices.
SEO Crawlers / Audit Tools
Tools such as Screaming Frog SEO Spider (a desktop program) or online suite tools like Semrush Site Audit and Ahrefs Site Audit can crawl your entire site like a search engine would. They then report on a wide range of technical issues: broken links, missing titles or meta descriptions, duplicate content, incorrect canonical tags, redirect chains, pages blocked by robots.txt or noindex, and much more. These tools often categorize issues by severity, so you know what to tackle first. For beginners, Screaming Frog has a free version (up to 500 URLs) that is great for small sites, while tools like Semrush and Ahrefs have user-friendly dashboards with recommendations. Running a full crawl monthly can catch new issues – think of it like a “health scan” for your website.
Content Management System (CMS) Plugins
If you use a popular CMS like WordPress, take advantage of SEO plugins. For example, Yoast SEO, Rank Math, or All in One SEO Pack can greatly simplify technical SEO tasks. These plugins can auto-generate your XML sitemap, help edit your robots.txt from the dashboard, set canonical URLs, add schema markup to your pages, and even analyze on-page SEO elements. They often provide guidance (like warnings if you have duplicate titles or missing meta tags on a page). Similarly, for e-commerce platforms like Shopify or Magento, there are built-in features or extensions to handle redirects, sitemaps, and schema. Utilizing these tools ensures you don’t overlook the basics.
Browser Developer Tools & Extensions
Sometimes the issue is very page-specific. Browser DevTools (built into Chrome, Firefox, etc.) let you inspect a page’s HTML, check if resources failed to load, view mobile viewports, and test performance. Chrome’s Lighthouse can simulate a mobile device and provide a quick audit of performance, accessibility, and SEO basics. Additionally, SEO extensions (like MozBar, Ahrefs toolbar, or SEOquake) can provide on-the-fly information about meta tags, header hierarchy, and schema presence when you visit any page, which is handy for spot-checking your content or competitor pages.
Each tool has its learning curve, but for beginners, start with Google Search Console and PageSpeed Insights – they directly show you what Google cares about. Then incorporate a crawler like Screaming Frog or an all-in-one tool for deeper audits as you grow more comfortable. Remember, tools are there to surface issues; it’s on you to interpret and fix them in your site’s code or settings. By regularly using these resources, you’ll build a stronger, technically sound website that search engines (and users) love.
Final Thoughts
Technical SEO might seem intimidating at first, but breaking it down into the areas above lets you tackle it step by step. Start with the fundamentals: ensure your site can be crawled and indexed, is fast and mobile-friendly, and is free of glaring errors. These steps create a solid foundation so that your great content and on-page SEO can truly shine in search results. Always remember that the goal of technical SEO is twofold: make your site easy for search engines to access and understand, and provide the best experience for users.
For beginners and intermediate SEOs, it’s wise to create a checklist and routinely audit your site against it. Over time, many technical tweaks become second nature (for instance, you’ll always add redirects when moving content, or always compress images before upload). Keep learning and stay updated on SEO guidelines – Google’s algorithms and webmaster recommendations do evolve (for example, Core Web Vitals became a hot topic in recent years, and Indexing practices can change with new technologies). By staying proactive and using the right tools, you’ll catch issues before they hurt your rankings.
In the end, a well-optimized site behind the scenes supports everything else you do in SEO. Search engines can fully crawl your content, index it properly, and rank it without hindrance. Users enjoy fast, secure, and accessible pages. Investing time in technical SEO pays off in better visibility, more organic traffic, and a smoother website overall. Happy optimizing!


